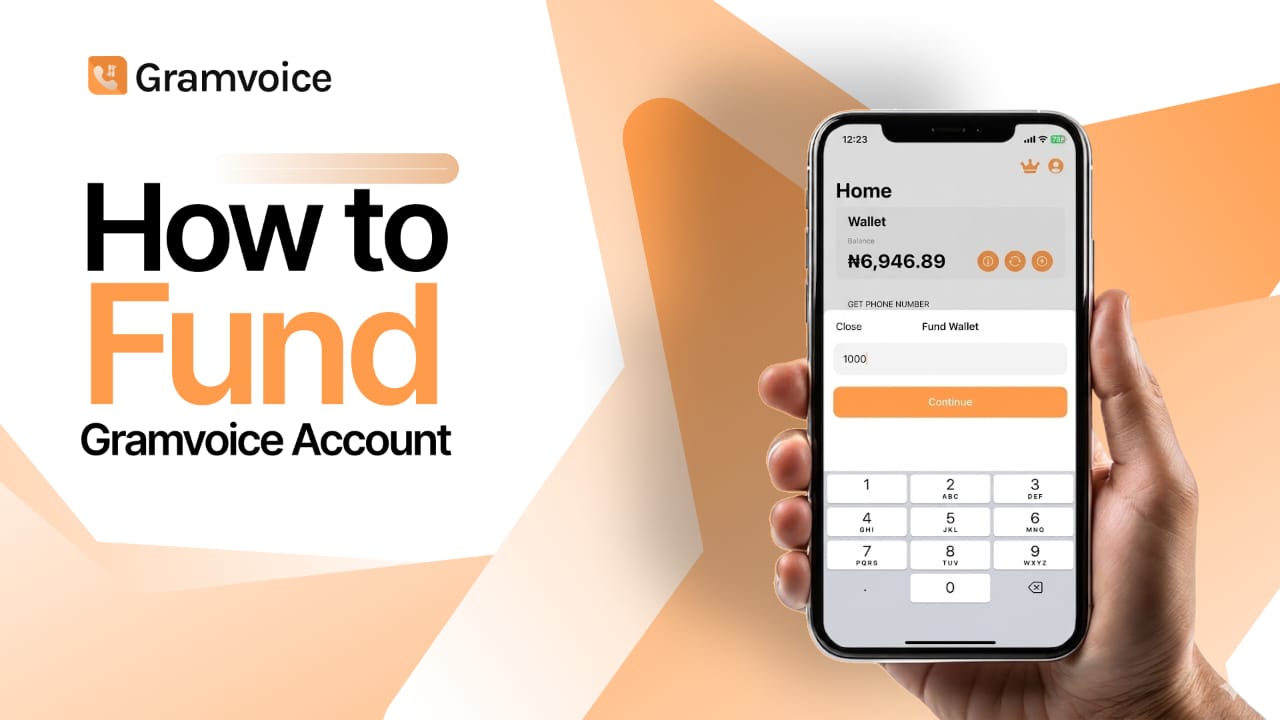
A Complete Guide to Funding Your Gramvoice Account
Funding your account is the essential first step to unlocking the full range of services offered by Gramvoice. To ensure a seamless, secure, and user-friendly experience, Gramvoice integrates a reliable payment system designed for speed and convenience.
This guide walks you through the process of adding funds to your account with clarity and ease.
Step 1: Access Your Dashboard
Begin by logging into your Gramvoice account through the official platform.
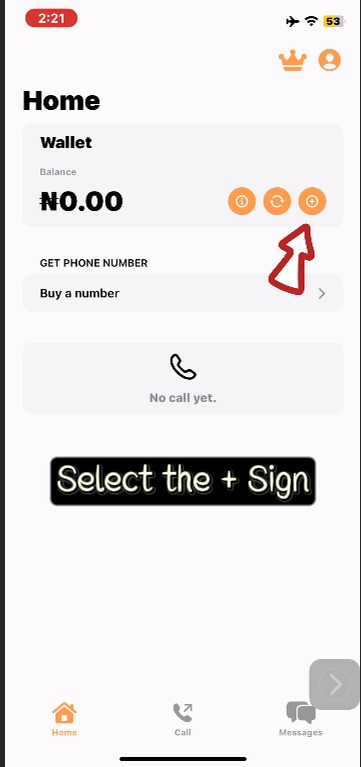
Once logged in, you will be directed to your personalized dashboard, where you can manage your activities and transactions.
Locate the “Add Funds” option on your dashboard or side navigation panel.
Click on it to open the funding interface.
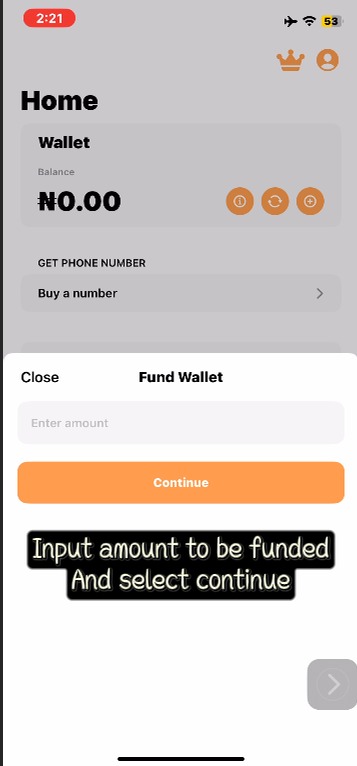
Enter the amount you wish to deposit.
Important:
The minimum funding amount is ₦100.
Double-check your input before proceeding to avoid errors.
Step 2: Make Payment via Secure Gateway
Gramvoice uses a trusted payment gateway to ensure all transactions are safe and efficient.
Click on “Pay with Paystack” to proceed.
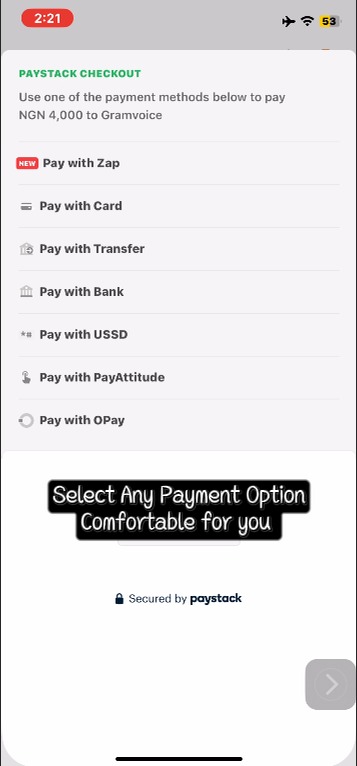
You will be redirected to a secure payment page where you can choose your preferred payment method:
Available Payment Options:
Debit/Credit Card: Enter your card details and complete any required bank authentication.
Bank Transfer: Use the temporary account details provided and complete the transfer using your banking app.
USSD: Follow the on-screen instructions to complete payment using your bank’s USSD code.
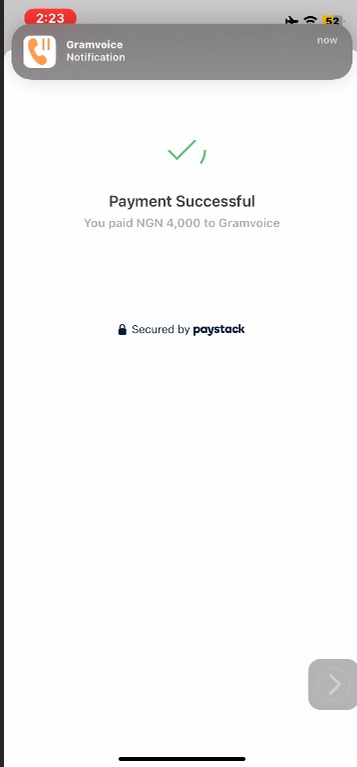
Once your payment is successfully processed, you will receive an instant confirmation notification.
Step 3: Confirm and Verify Your Balance
After completing the transaction:
You will be automatically redirected back to the Gramvoice platform.
For security purposes, you may be prompted to log in again.
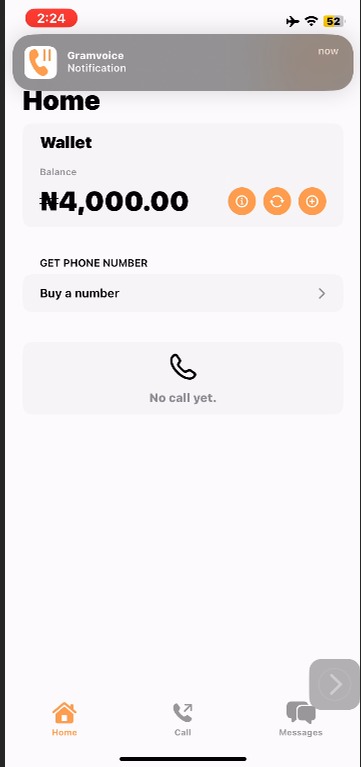
Return to your dashboard to confirm that your balance has been updated.
Your funds should reflect immediately, allowing you to proceed with using Gramvoice services without delay.
Pro Tip
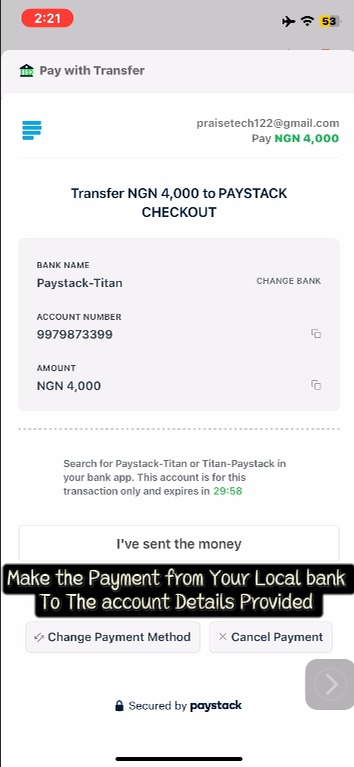
If you are using the Bank Transfer option, ensure you remain on the payment page and click “I have sent the money” after completing the transfer. This helps speed up the verification process and ensures your account is credited promptly.
With this simple process, funding your Gramvoice account becomes quick, secure, and hassle-free so you can focus on making the most of the platform.
Written by
Gramvoice Team